For Christmas, my dad received a homemade coupon in his stocking good for one pie of your choice. It didn’t take any guessing to know that it was from me! Being the pie-lover that he is, he put a lot of thought into his choice. Originally my dad asked if I would make him a blackberry pie with the wild blackberries we had stashed in the freezer, leftover from late summer pickings, but unfortunately there weren’t quite enough. And it’s not like store-bought frozen blackberries would do, since after tasting a pie made with wild ones there is no. going. back. Back to the drawing board it was. One of my Christmas presents was a copy of the 75th edition The Joy of Cooking, and upon leafing through it I spied a recipe for Deep-Dish Apple Pie with Cheddar Crust.
The savory-sweet combination was intriguing, especially since I LOVE the combo of cheddar cheese on apple slices. I’d never made a deep-dish pie before, which is essentially a pie without the bottom crust. I was a little worried that it would be too runny, more cobbler-esque, but it ended up slicing beautifully. When I suggested this pie to my dad he immediately consented, which is no surprise considering the fact that apple pie and extra-sharp cheddar cheese are two of his favorite things. After a quick trip to the store I was ready to go.
I baked the pie on a Saturday afternoon, then went off to babysit that evening. When I got home later that night I found the pie, half-eaten, with this sticky-note attached:

(FYI, Sam is my brother and Victor is his good friend)
I think that pretty much says it all! This pie is perfect for apple-lovers, cheddar-lovers, and pie-lovers alike. I know for a fact that this won’t be the last time an Apple Pie with Cheddar Crust appears at our house!

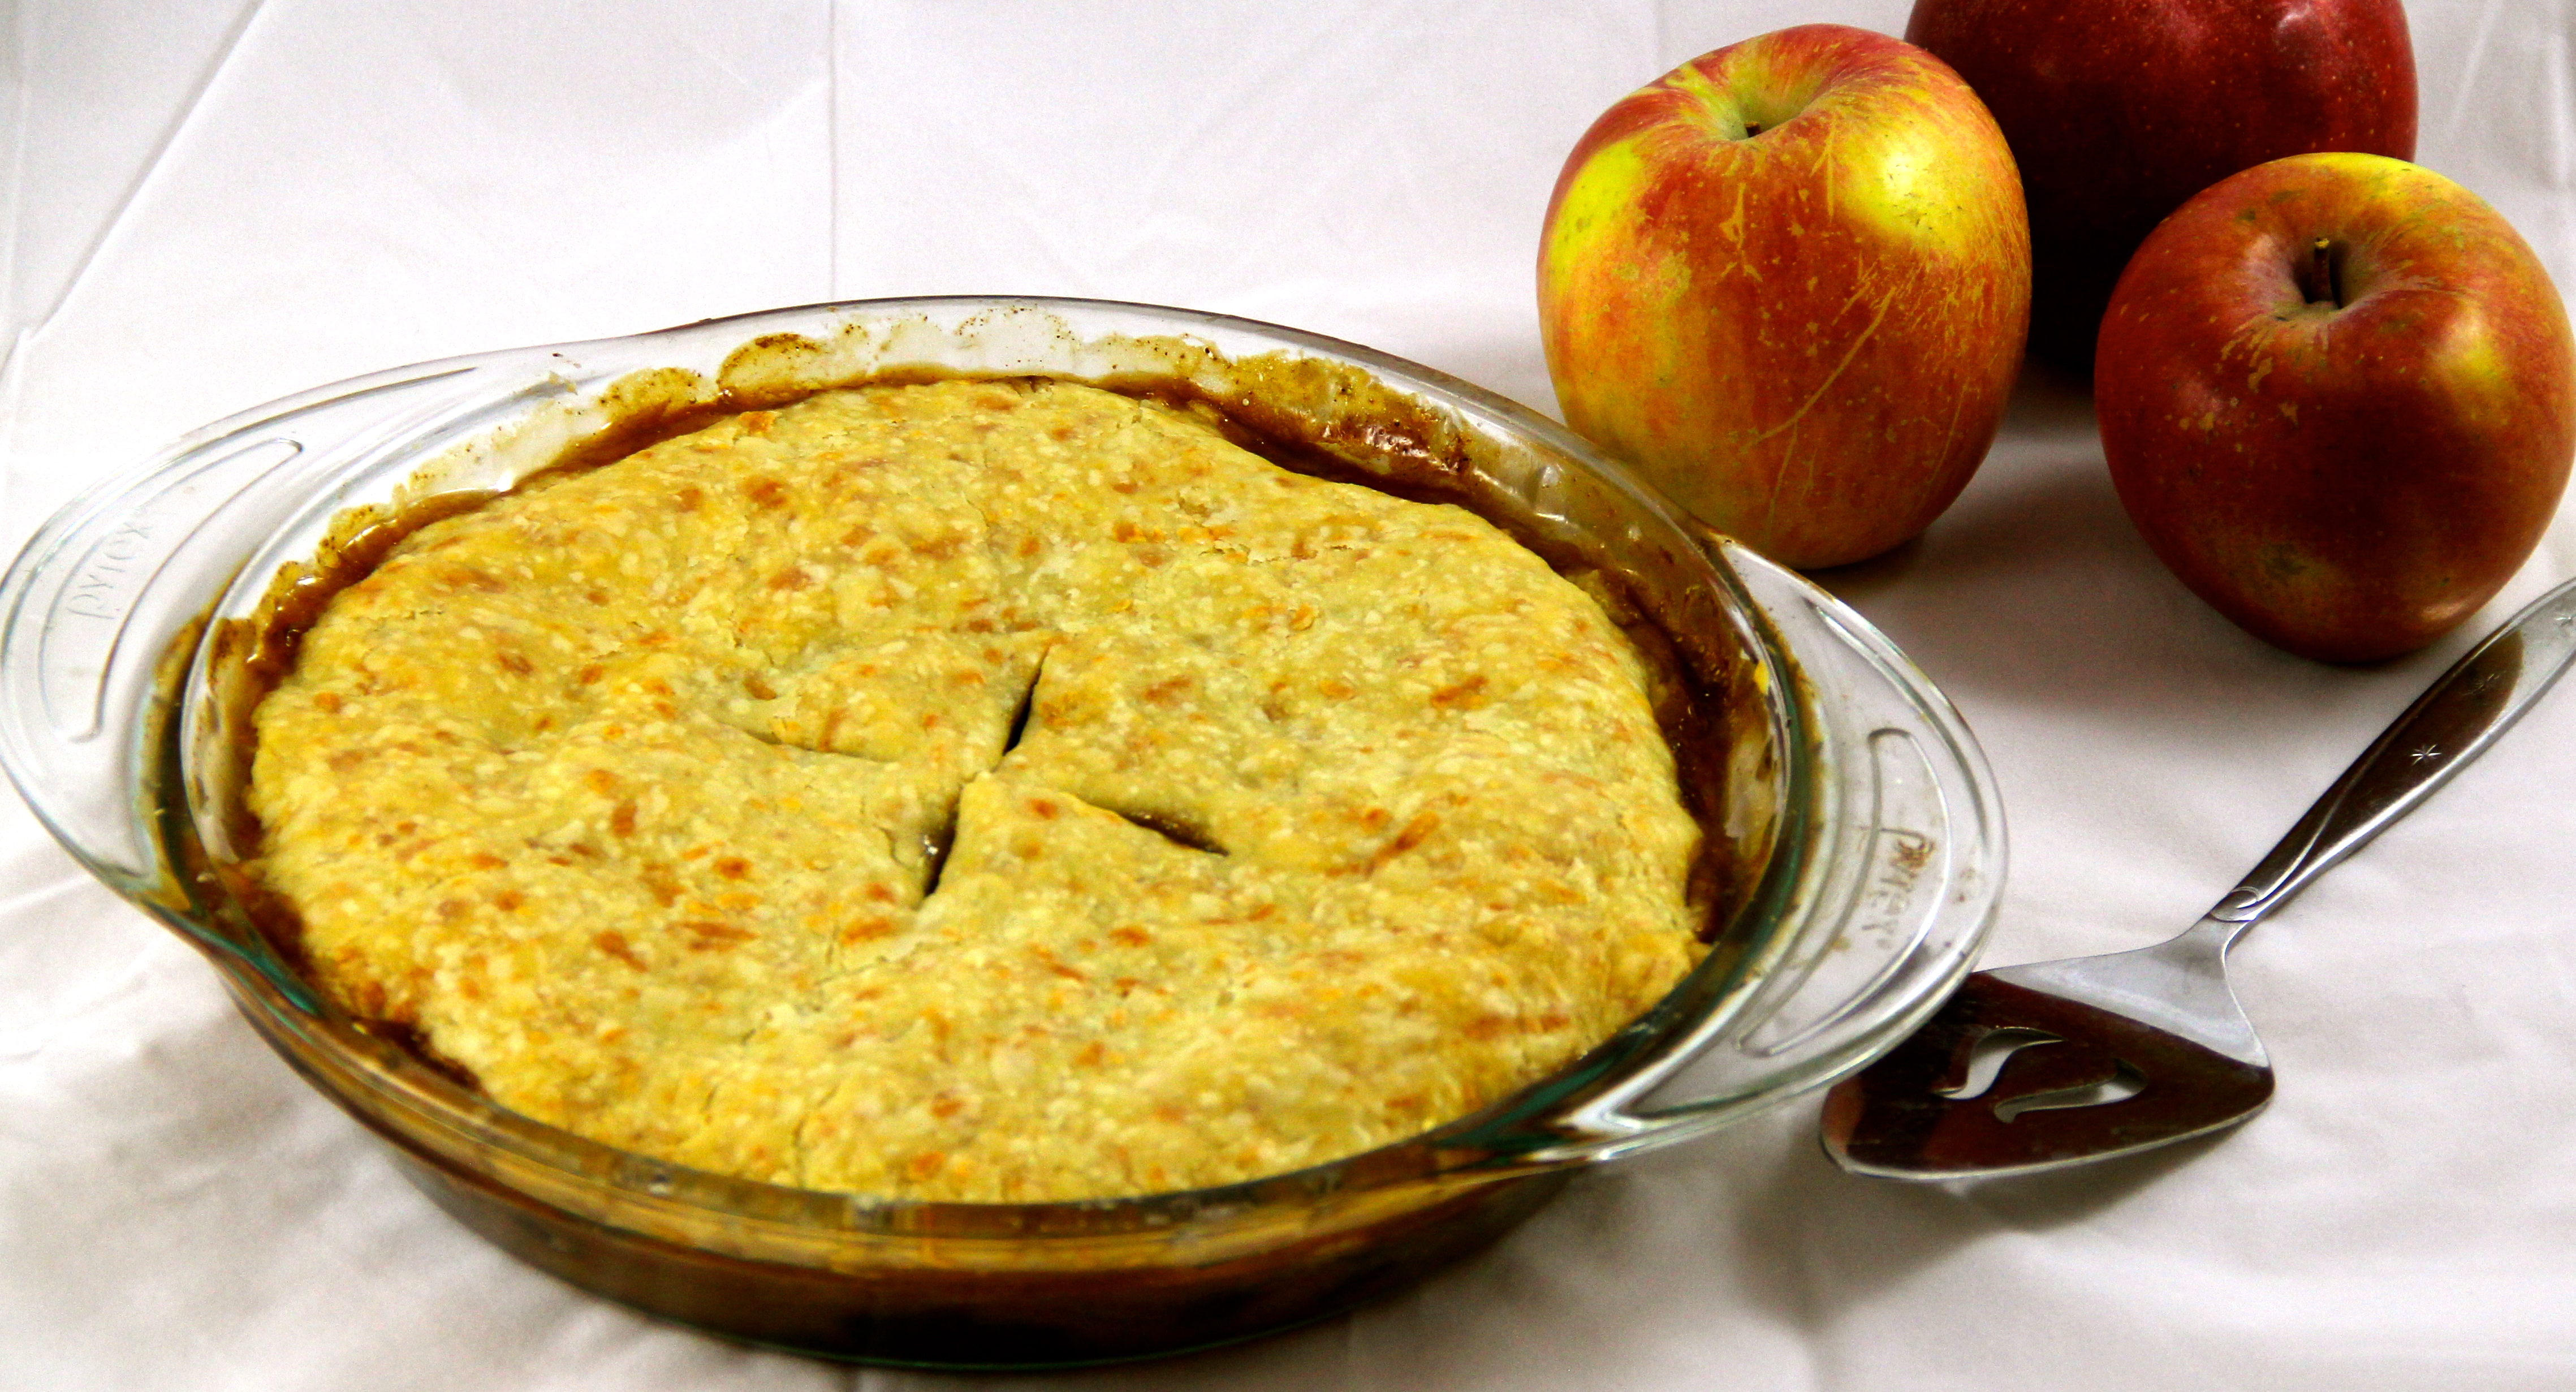
Deep-Dish Apple Pie with Cheddar Crust
Crust:
1 1/4 cups all-purpose flour
1/2 tsp salt
1 stick cold butter, cut into chunks
2 Tbs chilled vegetable shortening
3/4 cup shredded sharp cheddar cheese
3 Tbs ice water
Filling:
2 lbs apples (about 4 medium-large) peeled, cored, and cut into 1/4″ slices
6 Tbs butter
1 cup dark raisins (optional)
1/2 cup chopped pecans
1/2 cup granulated sugar
1/4 cup apple cider
Zest and juice from 1 large lemon
1/2 tsp ground nutmeg
1/4 tsp ground cinnamon
1/4 tsp ground cloves
1/2 tsp salt
Directions:
For the crust, whisk together the flour and salt. Using a pastry blender or two knives, cut half the butter into the flour until the mixture resembles cornmeal. Add in the cheddar cheese and the rest of the butter and shortening and cut in until it is pea-sized. Sprinkle in the water, one tablespoon at a time, tossing with a fork until the dough sticks together. If necessary, add in an additional 1 tsp to 1 Tbs water.
Turn the dough out onto a lightly floured sheet of waxed paper, plastic wrap, or a silicon mat. Lightly flour the top of the dough, place another sheet on top and roll into a 10-inch round. Slide the dough onto a cookie sheet and refrigerate for at least 30 minutes.
For the pie, preheat oven to 375 degrees F. In a wide skillet, heat the 6 Tbs butter over medium-high heat until sizzling and fragrant. Add the apple slices and cook until tender, 5-7 minutes. Then stir in the raisins, pecans, sugar, apple cider, lemon zest, lemon juice, nutmeg, cinnamon, cloves, and salt. Bring to a boil and cook, stirring occasionally, until the juices thicken to the consistency of maple syrup.
Pour the mixture into a 9- or 10-inch pie pan (a shallower pan works best in this recipe so the crust:filling ratio is more even). Peel the top sheet of waxed paper off the pie dough, then place the dough onto the filling and peel off the bottom sheet. Let the dough soften for a minute or two, then tuck the edges inside the rim of the pan. Cut 4 steam vents into the top crust.
Place the pie on a baking sheet in the center rack of the oven and bake for 30-40 minutes, or until crust is golden and filling is bubbly. Serve warm.
(Recipe from 75th Anniversary Joy of Cooking by Irma S. Rombauer, Marion Rombauer Becker, and Ethan Becker)