 Since I’ve been all about secret ingredients lately (chickpea muffins, anyone?), I figured I’d stick with the trend and post another delicious recipe containing an unlikely ingredient. After undergoing a gingival graft last week (in which a piece of soft tissue from the roof of my mouth was sliced off and sewn onto the gum line of my two front bottom teeth to counteract some recession most likely caused by my orthodontic work in middle school…for those of you who care to know), basically all I’ve been able to eat is yogurt, scrambled eggs, and smoothies. Well, and because I’m me, I’ve been eating blended-up overnight oats, mashed-up turkey meatloaf mixed with zucchini puree, and smashed-up avocado/shredded chicken salad. Hey, I’ve got to keep it interesting!
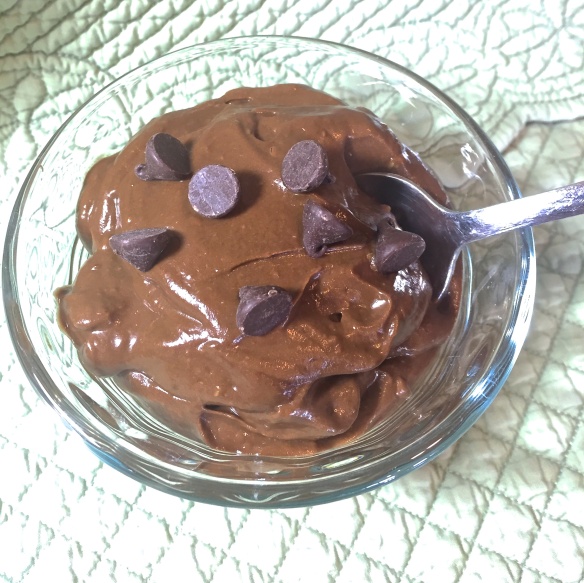
Anyway, lately my best friends have been soft, cold foods to ease my aching mouth. And what better best friend is there than chocolate pudding? I’ll tell you what: chocolate avocado pudding! It’s rich, smooth, chocolatey, full of heart-healthy fats, and doesn’t taste at all like avocados. At least, I don’t think it does–if you have sensitive taste buds, you might be able to detect a slight avocado-y taste, but the dominant flavor is definitely chocolate. Pure, smooth chocolate. Gahhh.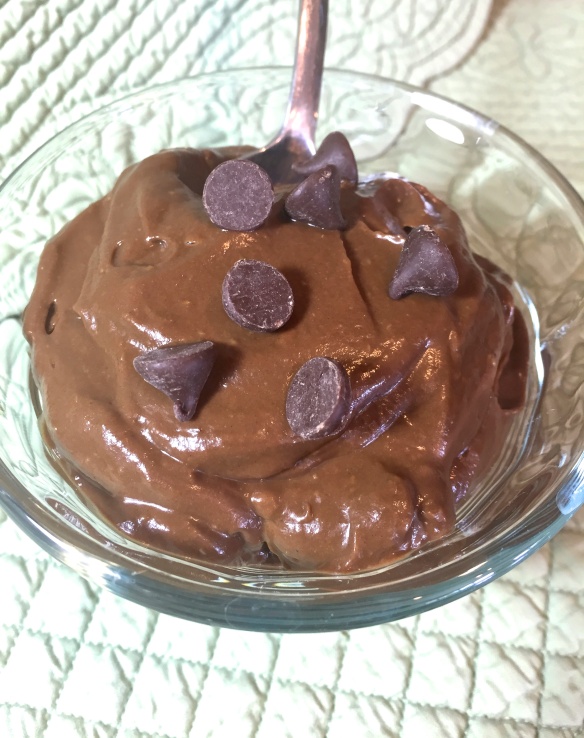
Not only is this pudding (fairly) healthy, easy, and delicious, but it only takes about 5 minutes to whip up! I highly recommend chilling it for 30 minutes or so, but if you’re feeling impatient you can eat it right then and there. I wouldn’t blame you.
Most of the measurements here are just ballpark figures–feel free to add more or less of the cocoa powder, milk, and sweetener until you reach your desired taste and texture. If you like your pudding a little more creamy and a little less intense, add a few extra tablespoons of milk. If you want a super-chocolatey flavor, add a bit more cocoa powder. If you’re trying to cut back on sugar, just use a tablespoon or two of agave or honey. Unlike delicate pastries or baked goods that require exact measurements, this recipe is highly adaptable and pretty darn hard to mess up. In the past I’ve thrown in a banana, left out the milk entirely, added peanut butter, and doubled (okay, tripled) the entire recipe. Each and every time, it was delicious.
Even if you’re not usually an avocado fan, I urge you to blend yourself up some Secret Ingredient Chocolate Pudding! It’s the ideal comfort food whether you’re recovering from a dental surgery like me, or just want to enjoy a no-bake dessert on a warm summer night. Have fun experimenting–and eating!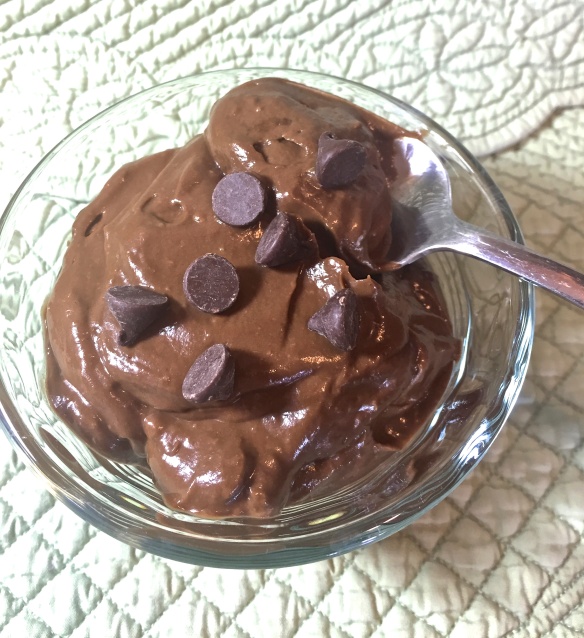
Secret Ingredient Chocolate Pudding
Makes 4 servings
2 small, ripe avocados
1/4 cup cocoa powder
1/3 cup milk (coconut, almond, cow milk, etc.)
1/4 cup sweetener (brown sugar, honey, agave nectar, etc.)
1 teaspoon vanilla extract
Chocolate chips for topping (optional)
Directions:
Scoop out the avocado flesh into a food processor or blender. Add the rest of the ingredients and blend or process until very smooth. Spoon into bowls or small ramekins and chill for 30-60 minutes before serving.
Note: this pudding should be served the day it is made for the best texture and flavor!
Recipe from Emma’s Baking Addiction


